Do you already own a Nokia “E” Series mobile phone, or are you considering purchasing one? The Nokia “E” series phones, although not inexpensive, offer the flexibility of both GSM and WiFi/SIP calling, and can be integrated with most SIP based IP PBX platforms. For the purpose of this article, we chose a Nokia E51 and configured it to leverage any open WiFi connection to register with our Switchvox IP PBX.
These instructions apply to and of the Nokia “E” series dual mode GSM/WiFi mobile phones.
NOTE: The SIP registration instructions below assume you have already setup your WLAN settings on the phone, and will use WiFI to communicate to your SIP server. It is always suggested to have the AP on the same network as the IP PBX and to place a certain level of security.
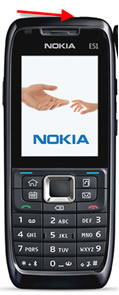
1. First, power on the Nokia “E” series phone by holding down the power button located on the top of the phone.
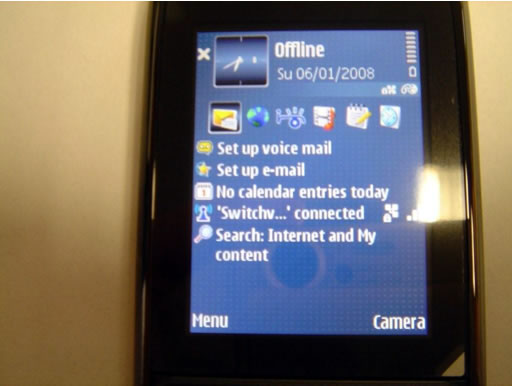
2. Allow the unit to boot to the main screen.
3. Press the menu option button at main screen.
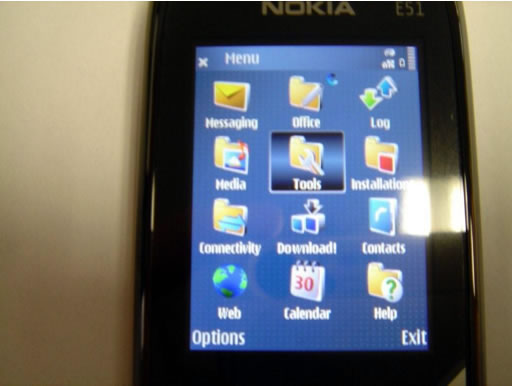
4. 4. Select the Tools Option.
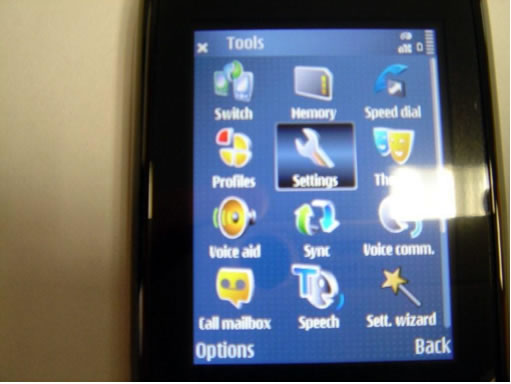
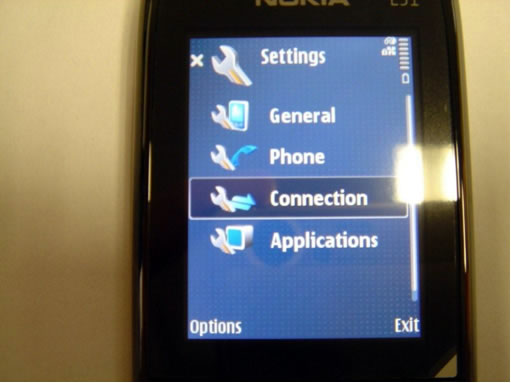
5. Select the Settings Option.
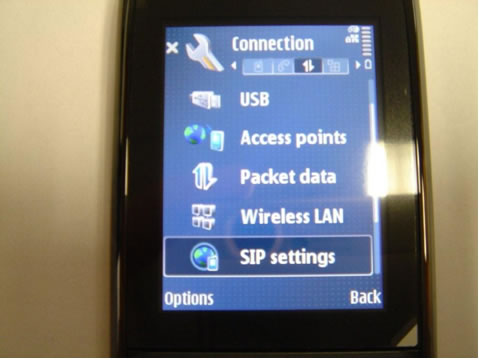
6. Scroll to the Connection option and select.
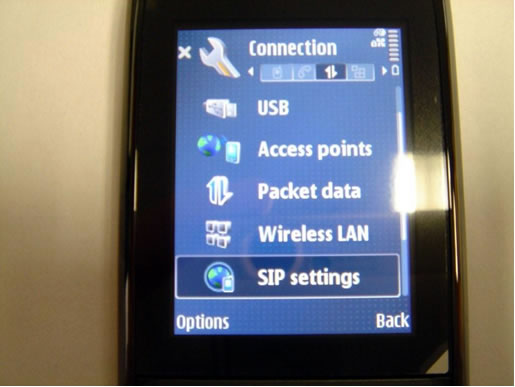
7. Scroll to the SIP Settings option and select.
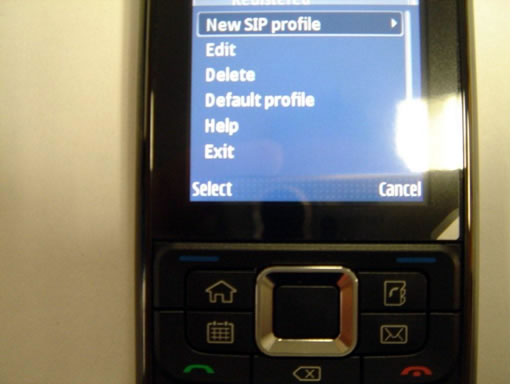
8. Select the Options button and select “New SIP Profile”.
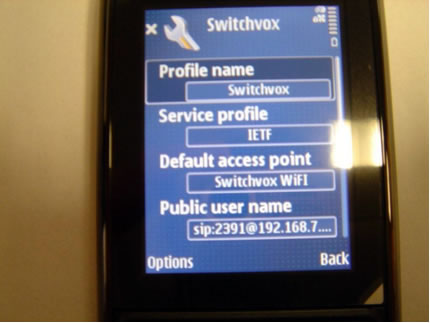
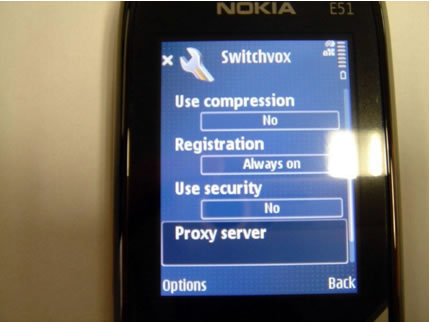
9. Enter the following information in the SIP Profile:
Example 2391@192.168.7.77 where 2391 is the extension and 192.168.7.7 is my Asterisk IP PBX IP Address.
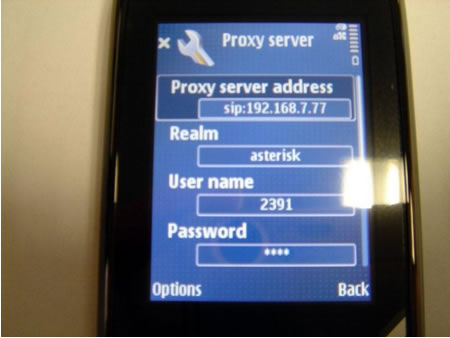
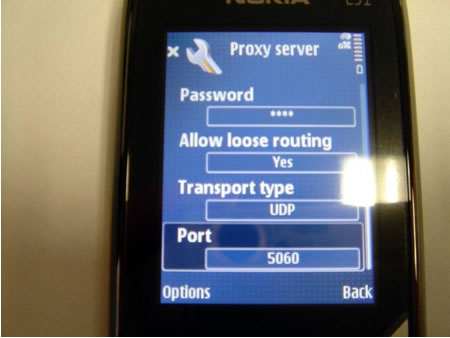
10. Select the Proxy Server option and make the following changes:
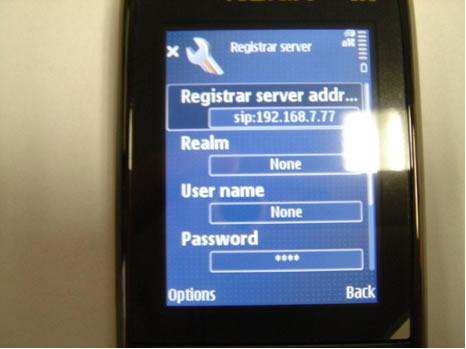
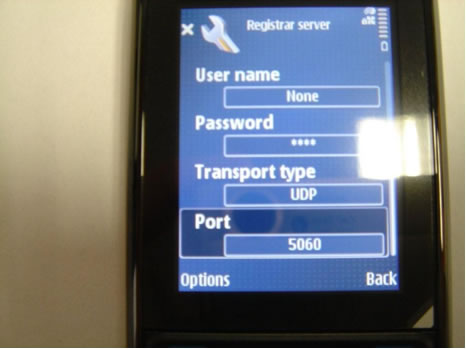
11. Select the Register Server option and make the following changes:
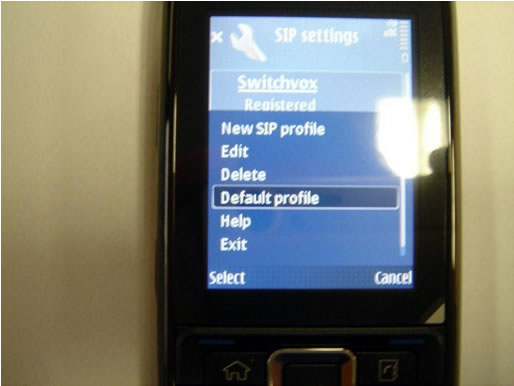
12. Back out of the SIP Profile after you have saved your changes. Hover over the profile you have just created and press the options button.
13. Scroll to the Default Profile option and Select.
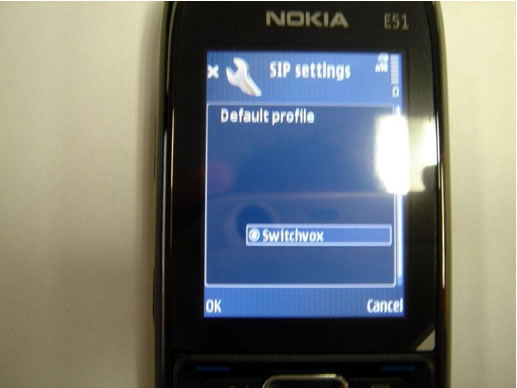
14. Choose your profile that you just created and set as the default profile, press OK.
15. Back out of the Connections Option by pressing the back button.
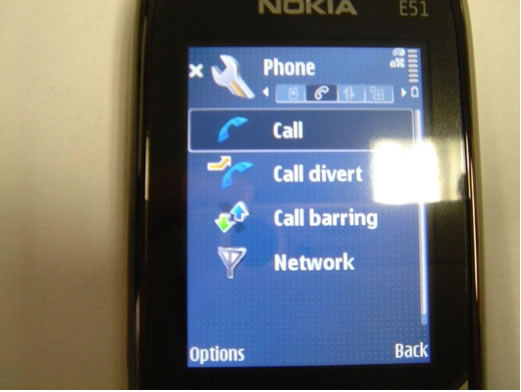
16. Select the Phone option and then select the Call option.
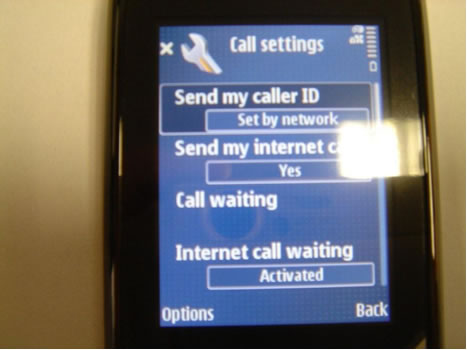
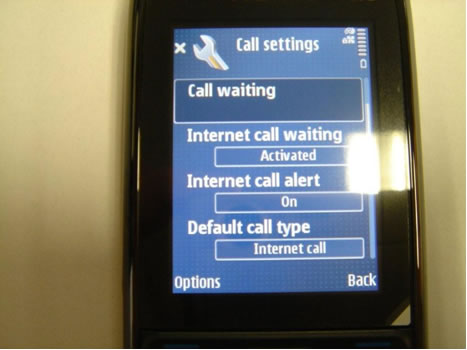
17. Edit the following Call setting parameters:
18. Save changes and back out of Phone settings.
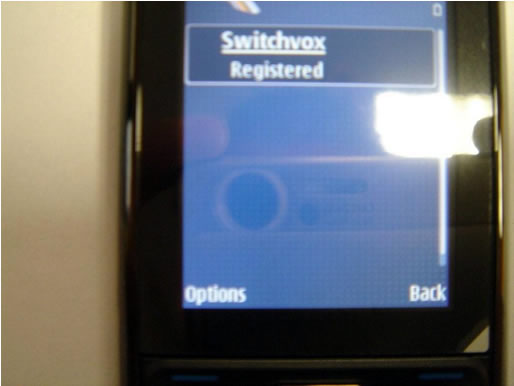
19. At this point, you should be registered to your IP PBX. To verify this, access the Connection settings and access the SIP Settings.
20. The registration state will be displayed under your SIP profile.
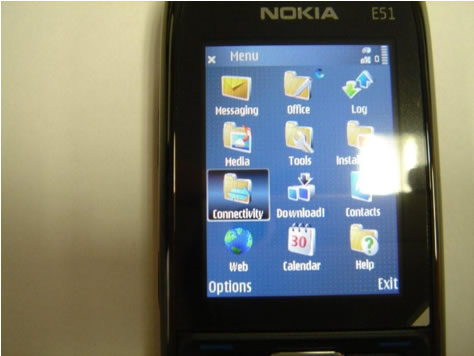
21. Back out of the Connection menu, Settings menu, and into the MAIN menu.
22. Select the Connectivity Setting.
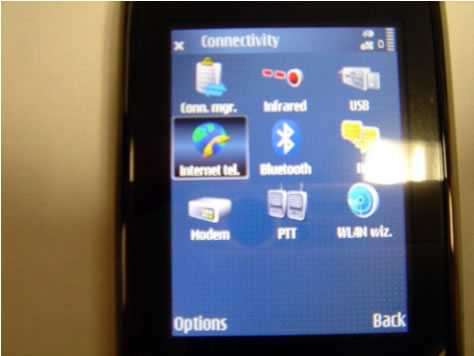
23. Select the Internet Tel setting.
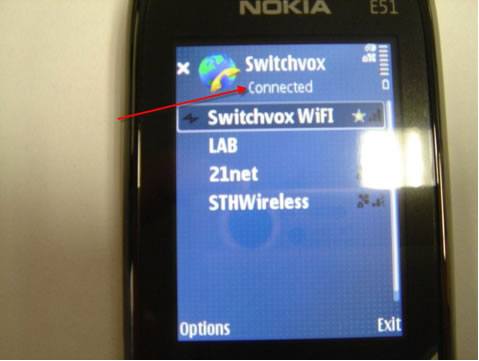
24. Choose the Access Point (AP) that your SIP Account is using and select. The phone will now connect your IP PBX via this access point.
25. Upon completion, the phone’s connectivity status will be “connected” (Note, if your SIP Profile is not registered, your connectivity will always fail, you must be “registered” in order to connect)
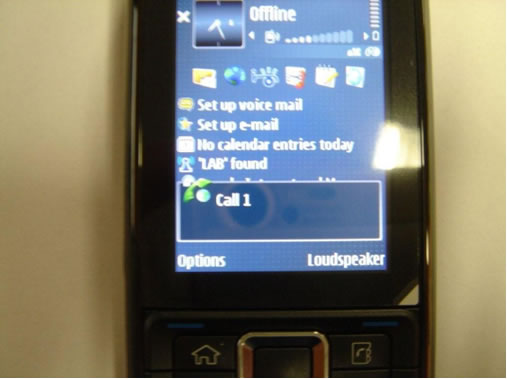
26. Finally, to test, make test calls to other extensions on your IP PBX.
You want to optimize your meeting space or conference room to ensure every remote or…
https://youtu.be/58HX8VIljrY?si=v4-BBtOhIiDujgch In the fast-paced world of Telecommunications, things can happen, and sometimes those things require…
In an office setting, there will most likely be a professional business phone on your…
https://youtu.be/WsVpLUdxYuQ?si=g7Arw3u20MWfKq8q We're back with more VoIP News for April 2025! In this month's episode, we'll…
Growing pains don’t only happen to people, they happen to businesses too! It’s fantastic that…
When looking into new or upgraded IP paging equipment, many people don’t realize that you…