The VoIP Addict’s Guide: Using the Elastix to FreePBX Conversion Tool
 When we first learn that Elastix had suffered an untimely demise, we were a little surprised. The good folks at Palo Santo had built a well-known and loved the platform that seemed to do all its capabilities. Elastix’s popularity was widespread across the globe, which now causes a problem for those still using a platform that’s no longer commercially supported.
While you can still download, install, and use Elastix, you won’t be receiving any updates or security patches, and for businesses that rely on VoIP technology as a critical service, that’s a big problem. Thankfully, our friends at Sangoma created a script to move your Elastix configuration to a new installation of FreePBX, for those of you considering it as an alternative. This is possible because FreePBX is embedded into the background inter-workings of Elastix which enabled its phone system functionality. We read through Sangoma’s conversion documentation and decided to give it a try.
Because we are traversing two very different versions of FreePBX, not everything will make it over on a conversion.
What won’t make it over:
- Call History (CDR)
- Fax Configuration
- Custom Configuration Files
- Call Queue Metrics
- Anything not a core FreePBX module
- Operating system and network settings
What will transfer:
- Extensions
- Routes
- Trunks
- MOH
- IVRs
- Ring Groups
- Queues
- Custom music on hold
- Voicemails
- Voicemail Greetings
- System Recordings
To test, we set up an Elastix 2.5 installation with some extensions, a call queue, some routes, a trunk, and ring groups.
The official instructions from Sangoma can be found here.
Pre-requisites:
- You’ll need an installation of FreePBX version 10.33.66 x64, that’s activated
- Run the FreePBX Firewall wizard and use all of the default options
- Your Elastix system must be at a minimum based on FreePBX version 2.9
- Both systems must have full network access to each other (check your firewalls)
The Procedure:
- Console into your new FreePBX install and run the command
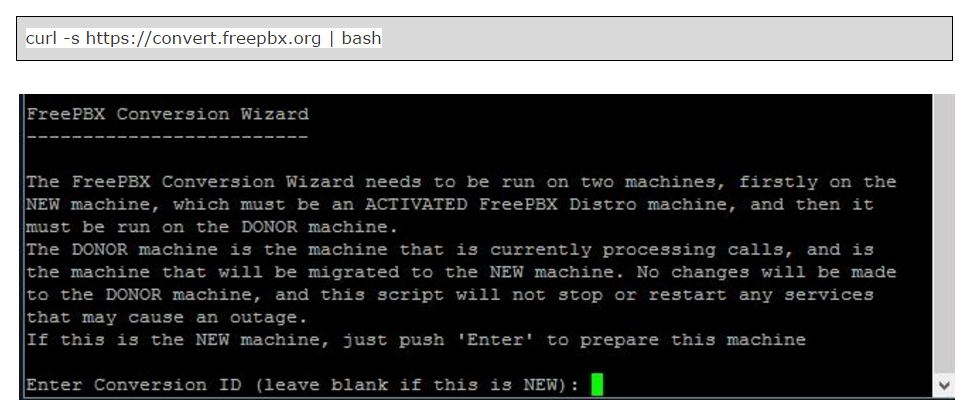
- Leave the field blank and press enter, FreePBX will indicate “Waiting for Donor”
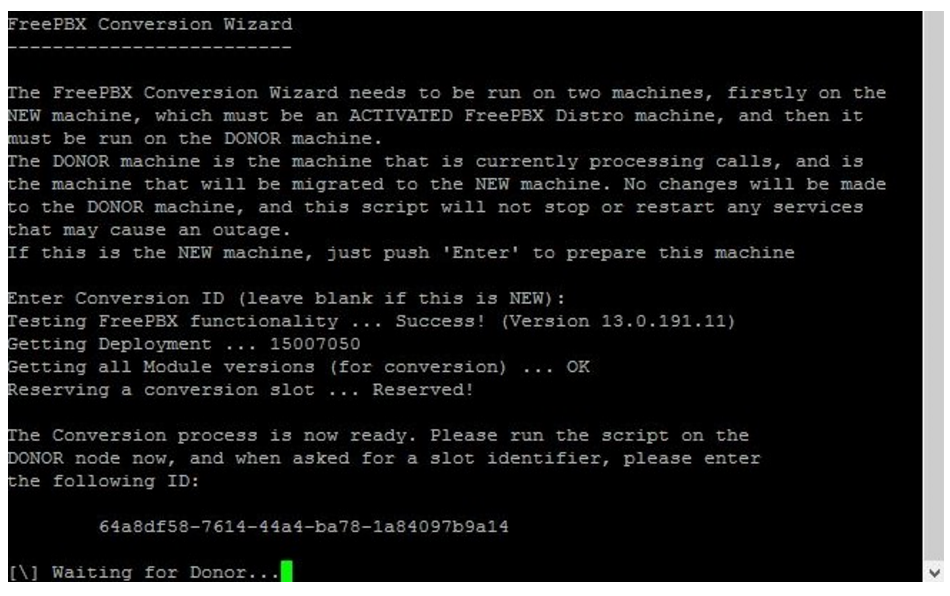
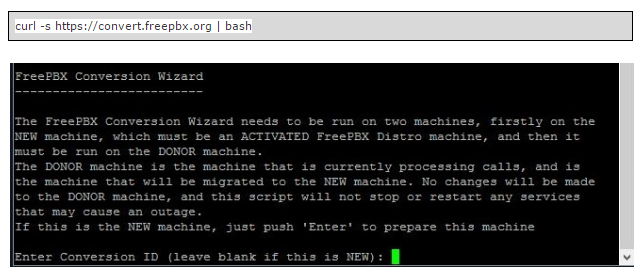
- Cody the generated slot identifier, then run the same command on Elatix.
- Enter in the slot identifier where it asks for the “Conversion ID”
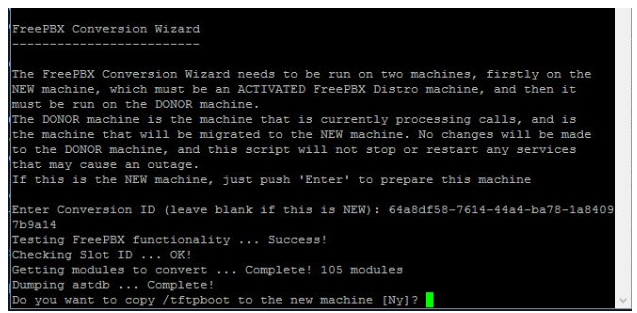
- Type “Y” when prompted “Do you want to copy/tftpboot to the new machine” if you have provisioned phones in Elastix, otherwise type “N”
- Watch the maigc happen! (Elastix Left, FreePBX Right)
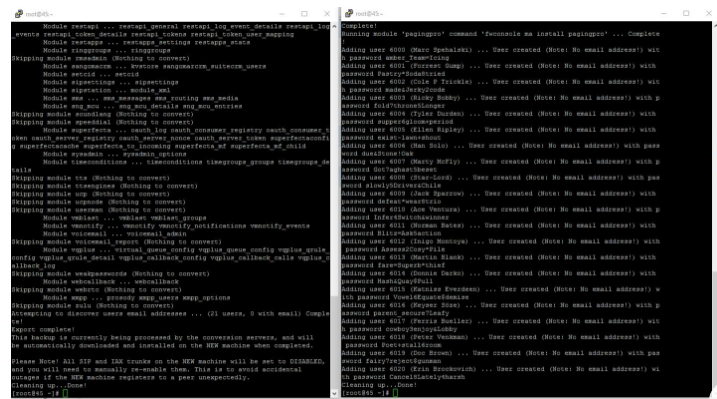
Once complete, you will need to disable your trunks in Elastix, or shut the system down, and then enable them in FreePBX. They will be disabled by default to avoid registration issues.
You’ll find your extensions retain the same passwords so your phones will register without any modifications to their internal settings. However, if you experience issues with phone registrations, check your firewall on FreePBX and make sure you are allowing SIP from the correct interface.
Enjoy your newly converted phone system!
Happy VoIPing!
